
How to Install Windows in a Metal Building: DIY Tips and Tricks
Installing windows in a metal building requires careful planning and the right approach. This guide walks you through each step of the process from start to finish. You'll learn about the tools needed, how to measure properly, and the best techniques for a clean installation. Steel construction projects like this need attention to detail for the best results. We'll cover everything from preparing the opening to sealing for energy savings.
Necessary Tools and Materials
You need several basic tools and materials for this job. Get a measuring tape, level, drill with bits, screws, screwdriver, caulk gun, and safety glasses. The measuring tape helps you place windows correctly. A level keeps everything straight and balanced during setup. Your drill and bits create holes for screws. Pick the right screws and use a good screwdriver to attach the windows securely to the metal walls. A caulk gun seals gaps between the window frame and the building to stop leaks. Safety glasses protect your eyes while working. Having all these ready makes the job go smoothly.
Measuring and Marking Window Placement
Getting exact measurements is key to a good window installation. Start by measuring the width and height of where the window goes. Use your measuring tape carefully to get precise numbers. Mark the exact center of the opening both across and up and down. This center point helps you line up the window frame correctly. Measure and mark where the window edges will sit, making sure they're level and straight. Check all your measurements twice before moving on. Good measurements and clear marks help your window fit perfectly in the metal building.
Preparing the Window Opening
Getting the window opening ready takes careful work. First, check your measurements again and make sure they match the window frame size exactly. Mark the window outline on the metal building with chalk or another marking tool. Use a level to make sure the opening will be perfectly straight across and up-and-down. Cut through the metal carefully along your marked lines using tin snips or a saw. Take your time with this step - being precise here makes the rest of the job easier. A well-prepared opening means your window will fit right and look professional.
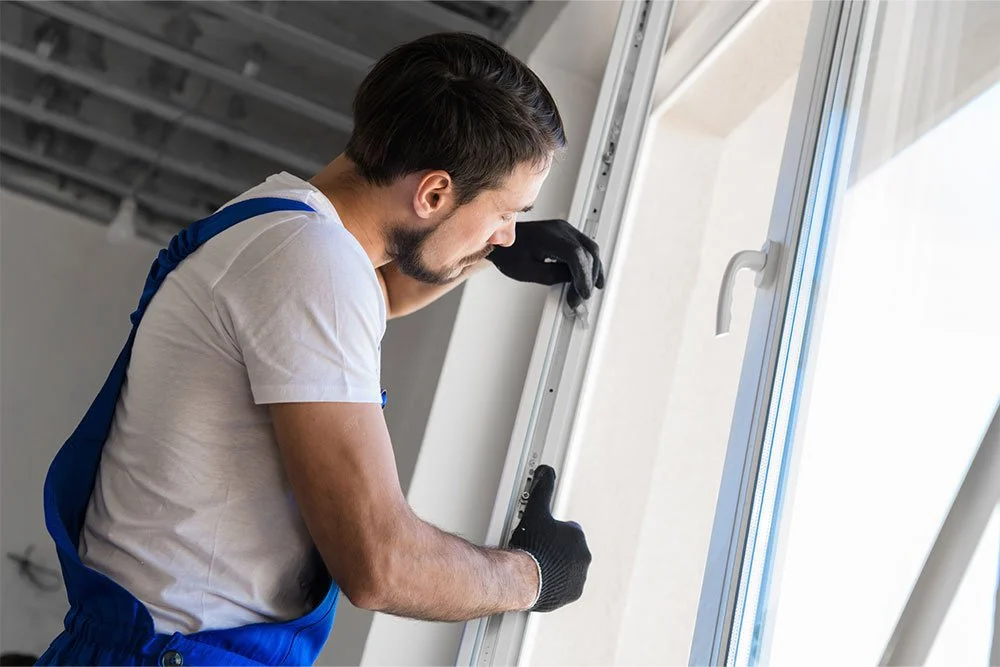
Installing the Window Frame
Place the window frame in the opening and check that it fits snugly against the metal building. Make sure the frame sits flat and level before securing it. Attach the frame using screws or bolts that work with your building type. Follow the window maker's instructions for your specific frame. Check that everything lines up properly before tightening all the way - this prevents the frame from getting twisted. Use your level to confirm the frame is straight and square. Test that the window opens and closes easily once it's in place. A properly installed frame makes your building look good and work well.
Sealing and Insulating for Efficiency
Good sealing and insulation keep your building comfortable and save energy. Here's what to do:
Put high-quality caulk around the window frame to seal gaps that let air through
Add weatherstripping around the window parts to create a tight seal when closed, stopping drafts and heat loss
Think about using low-e glass for better insulation - it reduces heat transfer while still letting light in
Related Topics: